
In Mosaic you can create Groups, which allow you to collect useful layouts in a way that is meaningful to you. For example, if you have a MacBook and also an external display, you may typically use different window positions when working with the MacBook screen alone, and when you are working with it connected to the external display. In this case you may create two groups called "MacBook" and "External Monitor". You can then switch between groups when you connect the display so you can work with layouts that work for that scenario. This is an example, but there are many reasons you may wish to separate layouts into groups. Another example might be so that you can display different layouts when using the TouchBar or RemoteApp than you do when you use the Drag & Drop.
Lets work with the above example, and demonstrate how you could create the two groups for "MacBook" and "External Monitor".
In our example we shall assume that on our MacBook, with a smaller screen we will use only simple layouts for left half, right half and full screen. On our bigger external display because we have more space lets say we want some additional layouts for dividing the screen into smaller sections. In order to describe the process of grouping we shall assume all the required layouts exist.
To create the groups:
- Click the Mosaic status menu icon
- Select "Preferences..." from the app menu
- Click the "Groups" tab in the preferences window
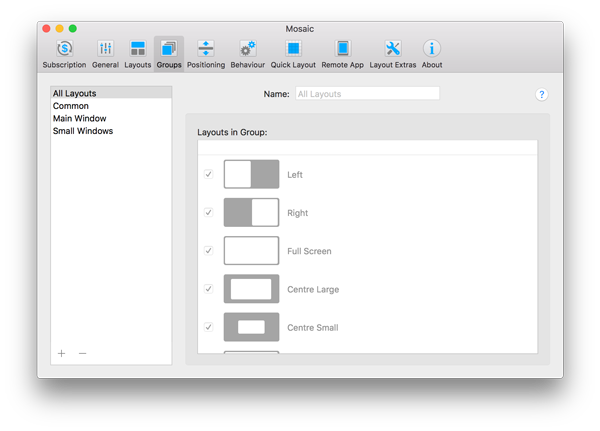 \
\
- Click the "+" icon tin the bottom left and choose "New Group".
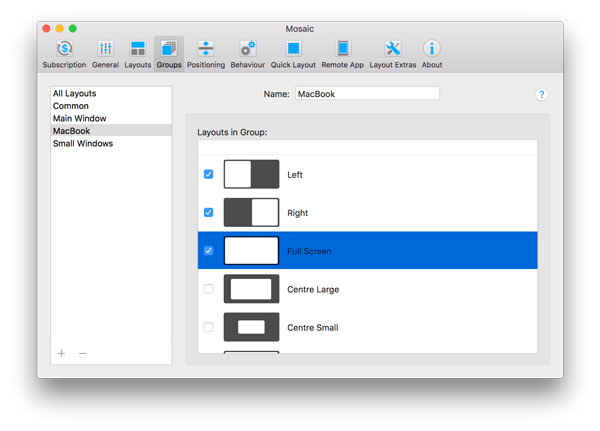
- Type the group name "MacBook"
- In the list of layouts below the group name tick any layouts you wish to appear in this group. For this example I will tick Left, Right and Full Screen only
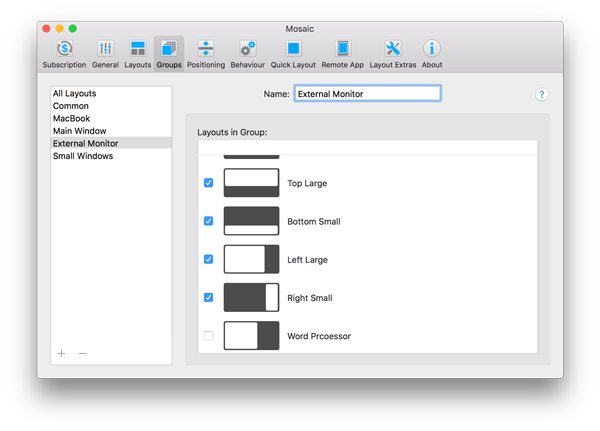
Now we can repeat this process for the second group. In this case I will call it "External Monitor" and add the same layouts as above and a few more layouts to it:
Ok, now we can select the group we want to work with on the Drag & Drop section of the app menu:
- Click the status bar icon for Mosaic
- Click the "Group" submenu under the "Drag & Drop" section
- Select the "MacBook" group
- Try dragging a window
If you have the default options ticked you should see this:
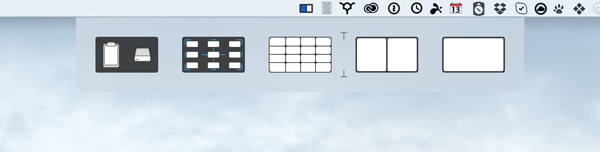
Then if we repeat the above and select the "External Monitor" group you will see:

The items to the left of the divider are the Layout Extras which can be enabled / disabled as required from the app menu. That's it, we have created two groups and learned to switch between them.
Comments
0 comments
Please sign in to leave a comment.